
Installation and basic settings
Installation
Via the Shopware Store
- Purchase the extension in the store and download it in the admin under Extensions → My extensions.
- Install and then Activate.
Via the console
Extract the plugin archive into custom/plugins/ or add it via Composer (tonur/seo-filter-landingpages), then:
bin/console plugin:refresh
bin/console plugin:install --activate TonurSeoFilterLandingpages6
bin/console cache:clear
The database migrations run automatically during installation. Among other things they create the SEO URL template for landing pages.
After installation
The admin shows the menu item SEO Filter Landingpages under Marketing. Users without administrator rights first need the matching permissions on their role, see Permissions.
After an update
Refresh the indexes after a plugin update: Settings → System → Caches & Indexes → Update indexes. This regenerates the SEO URLs of all landing pages.
Plugin settings
Found under Extensions → My extensions → SEO Filter Landingpages → … → Configure. General settings apply per sales channel if one is selected at the top. Generator log retention applies globally.
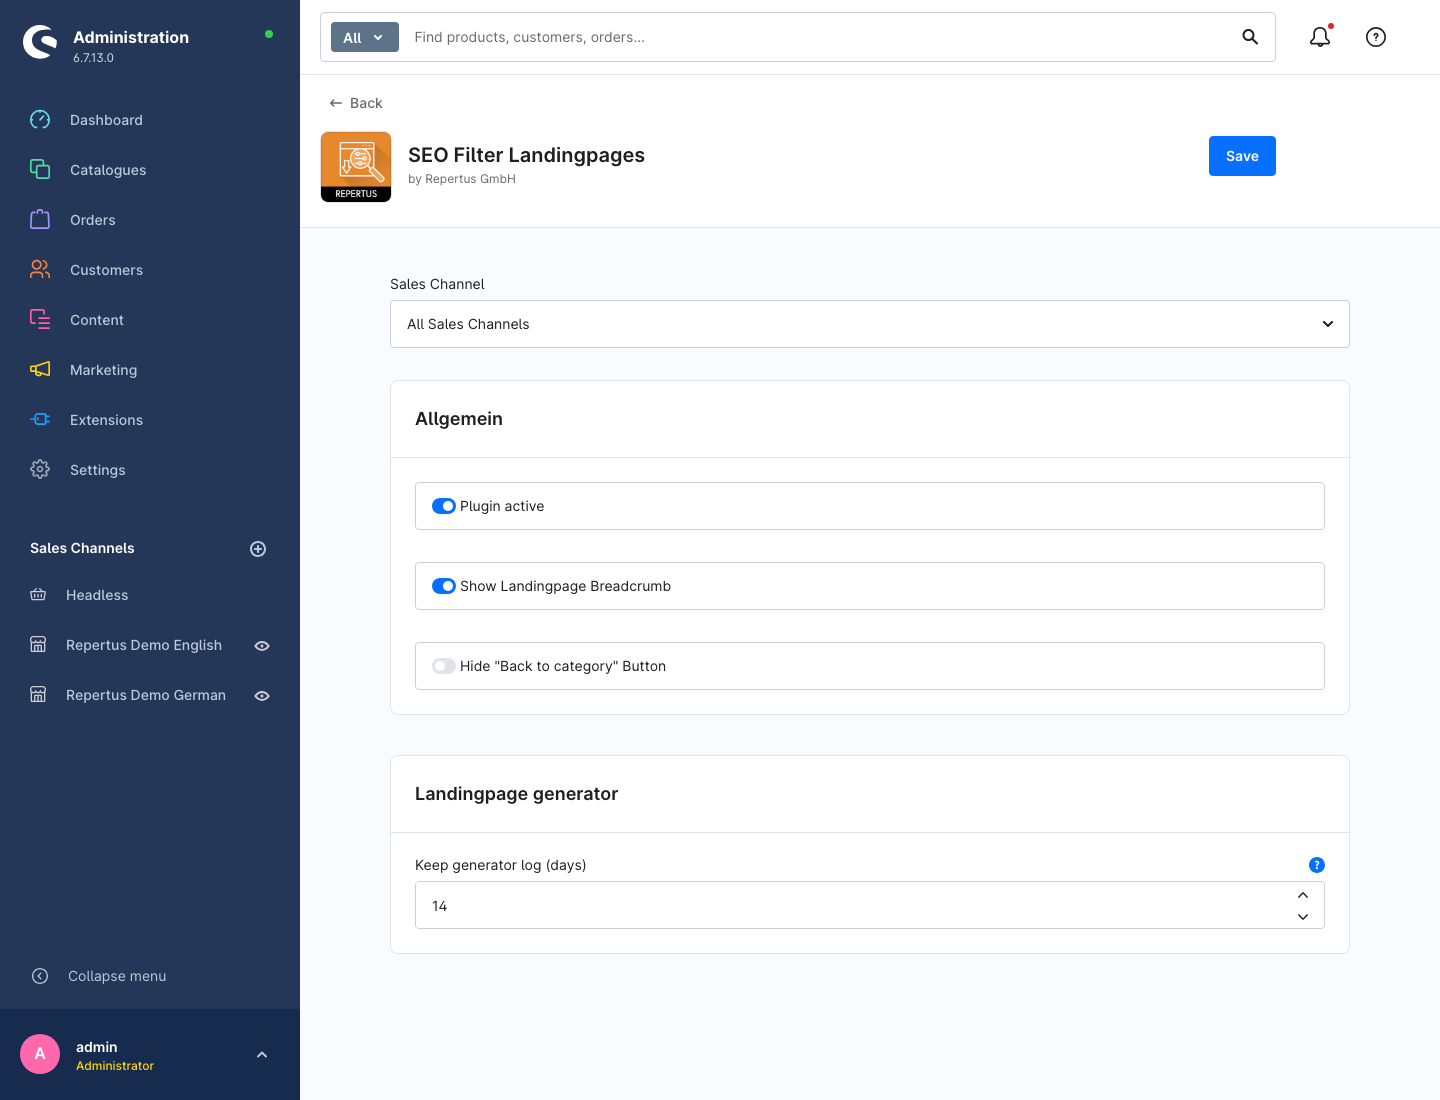
| Setting | Default | Effect |
|---|---|---|
| Plugin active | on | Enables the breadcrumb extension. Landing pages themselves stay reachable regardless. |
| Show Landingpage Breadcrumb | off | Appends the landing page as the last element of the category breadcrumb. The text comes from the landing page's breadcrumb field, which is set through the API for manual pages or through a pattern’s breadcrumb template for generated pages. |
| Hide "Back to category" Button | off | Hides the button in a landing page's filter bar that leads back to the unfiltered category listing. |
| Keep generator log (days) | 14 | Global retention of finished generation runs, minimum 1 day. Configure under All sales channels; the latest run per existing rule and open runs are retained. |
Unlocking the landing page generator
The generator is purchased separately as an in-app add-on. Open Marketing → SEO Filter Landingpages → Landingpage Generator and follow the booking action. The Per sales channel configuration add-on is neither required nor a way to unlock the generator. For automatic operation, configure scheduled tasks and a CLI worker.
SEO URL template
The request URLs of landing pages are generated from a template, just like product and category URLs. It is located under Settings → Shop → SEO in the section SEO Filter Landingpage and can be overridden per sales channel.
The default template uses the landing page's title in lower case. A / in the title is kept as a path separator, so the title Tableware/Cream becomes the URL /tableware/cream/:
{% for part in landingpage.translated.title|lower|split('/') %}{{ part }}{% if loop.last == false %}/{% endif %}{% endfor %}Inside the template the landing page's fields are available under landingpage, for example landingpage.translated.title or landingpage.translated.name. If a category is assigned, landingpage.seoBreadcrumb provides the category path as a list. A template that prefixes the category path:
{{ landingpage.seoBreadcrumb|join('/') }}/{{ landingpage.translated.title }}Overriding single URLs
Independent of the template, the request URL of each landing page can be set manually per sales channel and language, see Request and canonical URL.
Permissions
Under Settings → System → Users & permissions → Roles the plugin adds the entry SEO Filter Landingpages in the Marketing section with four levels:
| Level | Allows |
|---|---|
| Viewer | View landing pages, their sales channels, URLs, categories, properties and layouts |
| Editor | Edit landing pages, assign sales channels, maintain filters and URLs |
| Creator | Create and duplicate landing pages |
| Deleter | Delete landing pages |
The same roles apply to the generator: Viewers read rules, run reports and notifications; Editors edit rules and start or cancel runs; Creators add rules; Deleters remove rules. Generated pages remain read-only regardless of these permissions.
To regenerate missing URLs via Caches & Indexes, the role additionally needs the permission to update indexes (System → Caches & Indexes).
Caches & indexes
The plugin registers its own indexer which maintains the SEO URLs of landing pages. It appears under Settings → System → Caches & Indexes as repertus_landingpage.indexer and can be triggered individually there. This is the way to go when request URLs are missing, for example after creating a new domain.